Essential Tips and Equipment to Make Jam at Home
When fresh produce is available in abundance during the season, preserving is a common way to capture optimal flavours! Making jam and marmalades might sound daunting, but it is the easiest way to start and extend the lifespan of these beautiful seasonal ingredients. These tips and having the right equipment to make jam is half the work.
Best fruits to make jam
Ripe, firm fruit is your best choice. Underripe fruit lacks in flavour and produces less juice while overripe fruit will result in a very soft jam which is often too sweet. Always taste the fruit before making jam.
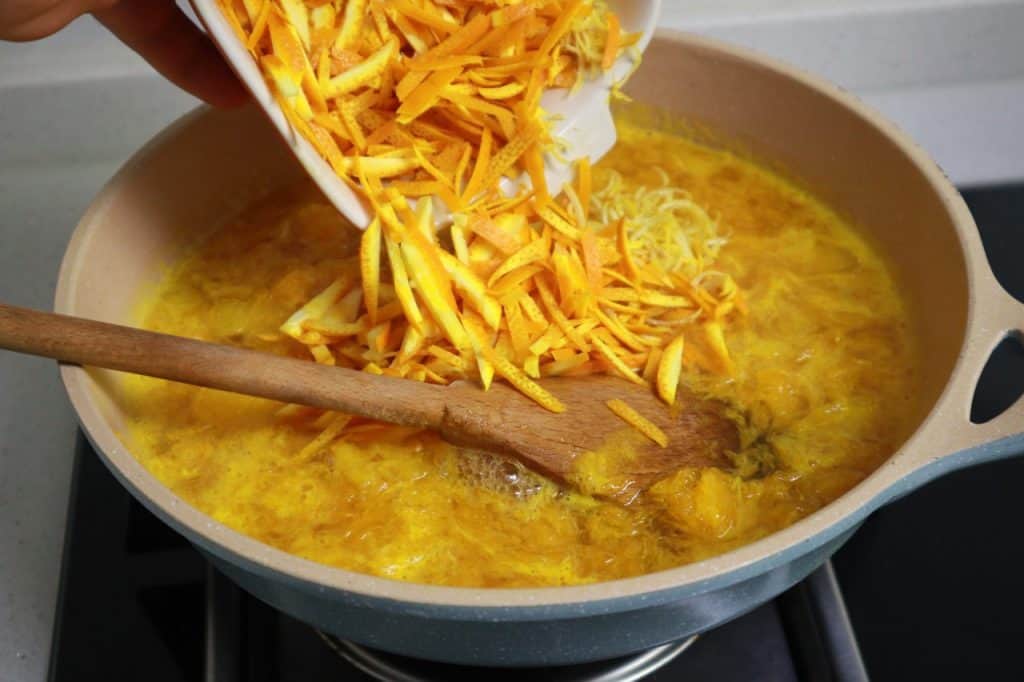
Chunky or not
Most fruit is ripe enough and doesn’t need a lot of chopping. We like chunky, traditional jams which require only a minimum of processing. Some of the fruit can be left whole and will fall apart during the cooking time.
If you like a smooth texture or if you use harder fruits such as rhubarb and plums, you might need to chop them before cooking and even pass them through a large sieve or a food mill before adding pectin.
Use of pectin
A good jam needs a balanced amount of acid and pectin to gel properly. Citrus fruits, green apples, pineapple, cherries, and certain berries are high-acid fruits that need little or no pectin as they contain enough natural pectin. However low-acid fruits, such as peaches, apricots, strawberries, or rhubarb need extra acidity from lemon and pectin to bind the jam.
The best equipment to make jam
There are only a few essential tools you need to make jam and you probably have most of it already.
A large jam pot
The size depends on how much jam you are planning to make. Always choose a pan or pot that is large enough for the fruit to cook. Never overfill the pot as you might spill some of the recipe and it is easier to burn. Most cookware sets come with a variety of pots in different sizes of which one should fit to cook your jam. For those who want to use more professional jam pots, copper is the best choice because it conducts heat well and allows you to control temperature more easily.
A food mill
A food mill is the perfect tool to mash and sieve soft foods. The hand crank makes it easy to push foods through a perforated plate without effort. Most food mills have a few sizes of plates with larger or smaller holes depending on how fine you require the final product.
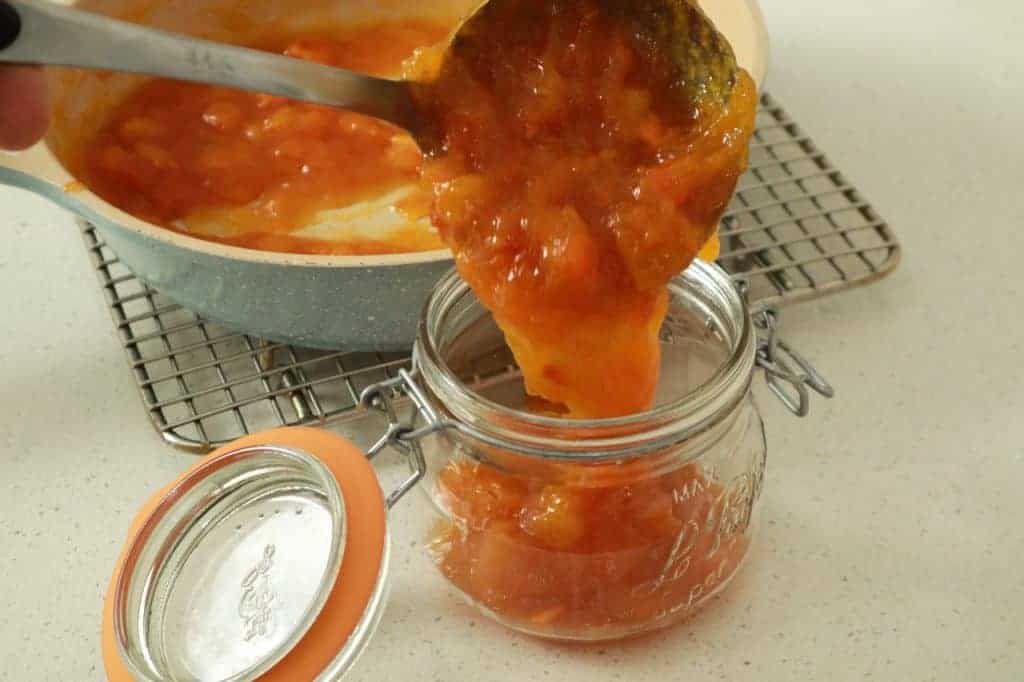
A funnel
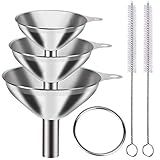
It’s not essential but it makes transferring the cooked jam into jars less messy. A stainless-steel funnel will withstand the heat which is crucial. Just make sure the mouth of the funnel is large enough to pass all the chunky bits of your jam.
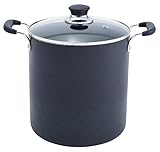
A canning pot
Canning jam extends the shelf life of the cooked products. A Dutch oven or a deep stockpot can be used as a canning pot. It just needs a kitchen rack at the bottom to leave space for the water to circulate fully around the jars. However, if you make jam often, a canning pot is inexpensive, and it has a fitted rack already.
A kitchen scale
Kitchen scales make it easy to measure ingredients precisely which is exactly what you need when making jam. A digital scale is easy to use and weighs sugar, pectin and fruit correctly.
A food thermometer
As important as weighing all ingredients is the temperature at which the jam is cooked. A food thermometer is compact and will show exactly when the jam is ready to take off the heat.
Jars and labels

The final step of making jam is filling and labelling the jars. There are many kinds and sizes available with different price tags. Most important is to have jars with airtight lids that close well with mason jars being most popular. Labelling is optional, but good as a reminder of the contents.